This blog has moved to: www.studio-paars.nl

November 25, 2014

* A new cuff


I'm moving my blog; the new location of this post is: Studio Paars - A new cuff

Mijn blog verhuist; de nieuwe locatie van deze post is: Studio Paars - Een nieuwe cuff-armband

======================================================

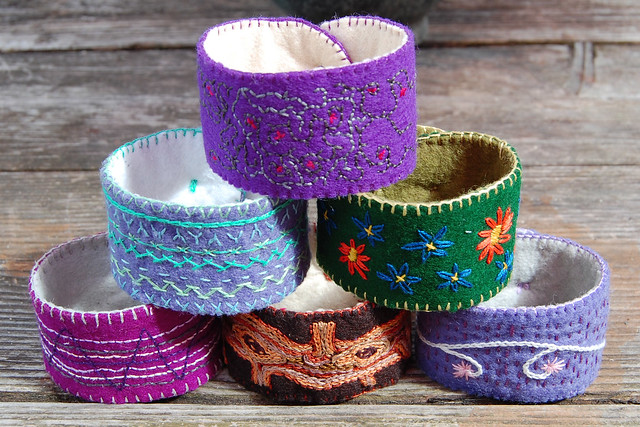
embroidered felt cuff 'purple' [#9]

Another quick post.... one of these days I will make the time to write a proper one, I promise!

This time I just wanted to show you a new felt embroidered cuff I made. This was supposed to be a gift for my friend, but it didn't fit her so I am putting it in the shop. Now I get to make her another one :)

embroidered felt cuff 'purple' [#9]

Weer een snel berichtje... binnenkort ga ik echt eens de tijd maken om een echte te schrijven, beloofd!

Nu wil ik alleen even een nieuwe geborduurde vilten cuff laten zien die ik had gemaakt voor een vriendin, maar ze past hem helaas niet. Dus gaat deze naar de shop en mag ik een nieuwe gaan maken :)
 
embroidered felt cuff 'purple' [#9]
embroidered felt cuff 'purple' [#9] close-up
embroidered felt cuff 'purple' [#9]
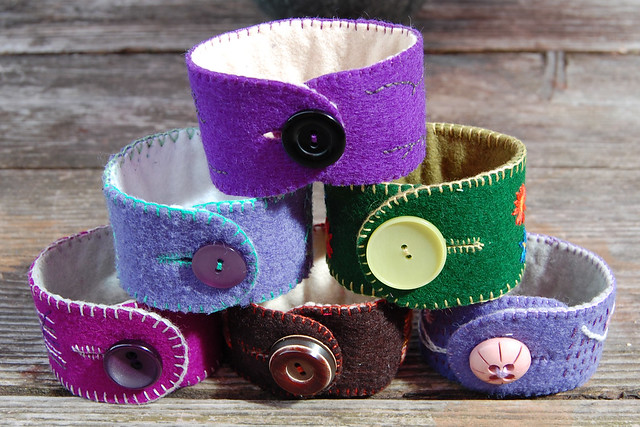
embroidered felt cuffs #9 #8 #3 #2 #5 #6

November 23, 2014

~ SALE 30% off everything - last day!

Life's been very busy around here these days, but here is a quick post to let you know my 'other' shop has been selected for a special 30% sale. And it ends tonight!
So come have a look and add some crafty materials to your stash! You know you could use some more ;D
Shop: Het Kralenkabinet / The Bead Cabinet

(My shop is on DaWanda. If you're unfamiliar with them: it is a lot like Etsy, but based in Europe. It is available in different languages; if yours isn't displayed you can change it on the bottom right of the page)


Het is allemaal nogal druk hier de laatste tijd. Maar toch even een snel berichtje om te laten weten dat mijn 'andere' shop is uitgekozen voor een speciale 30% sale. En vandaag is de laatste dag!
Dus kom even kijken en sla nog wat crafty spulletjes in. Je weet dat je het kan gebruiken ;D
Shop: Het Kralenkabinet

(Mijn shop staat op DaWanda. Als je ze nog niet kent: het lijkt veel op Etsy, alleen dan europees. Er zijn meerdere taal platforms: als jouw taal niet goed wordt weergegeven kun je dat aanpassen rechts onderin je scherm)

November 3, 2014

* Little Brother's patchwork blanket - finished!


I'm moving my blog; the new location of this post is: Studio Paars

Mijn blog verhuist; de nieuwe locatie van deze post is: Studio Paars

======================================================

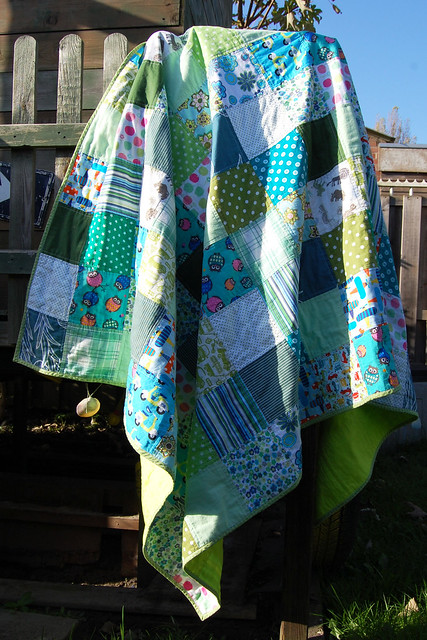
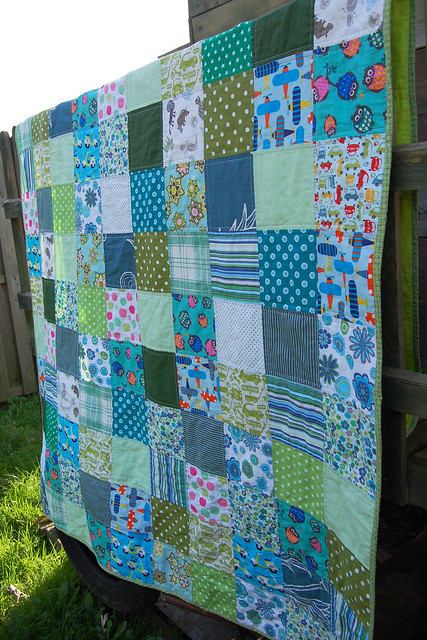
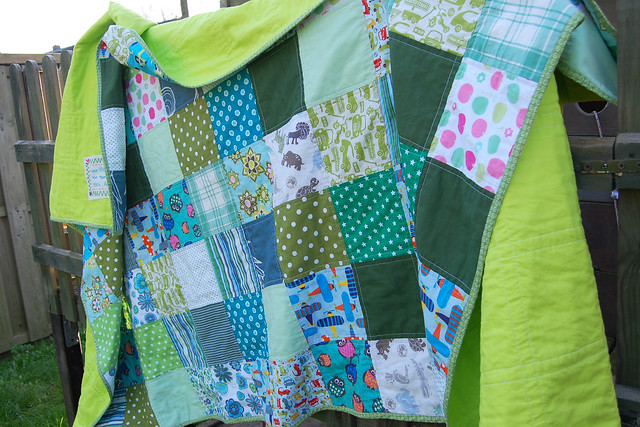
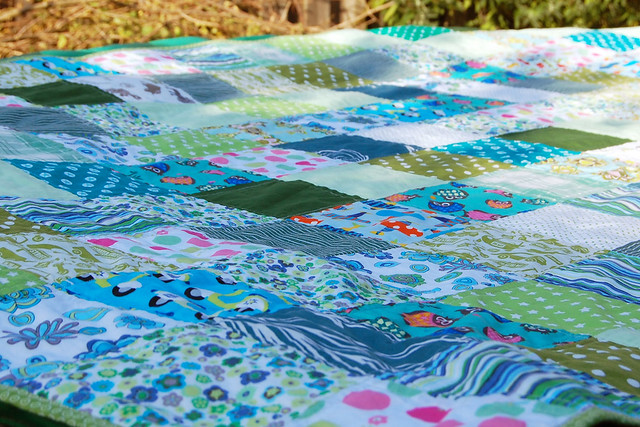
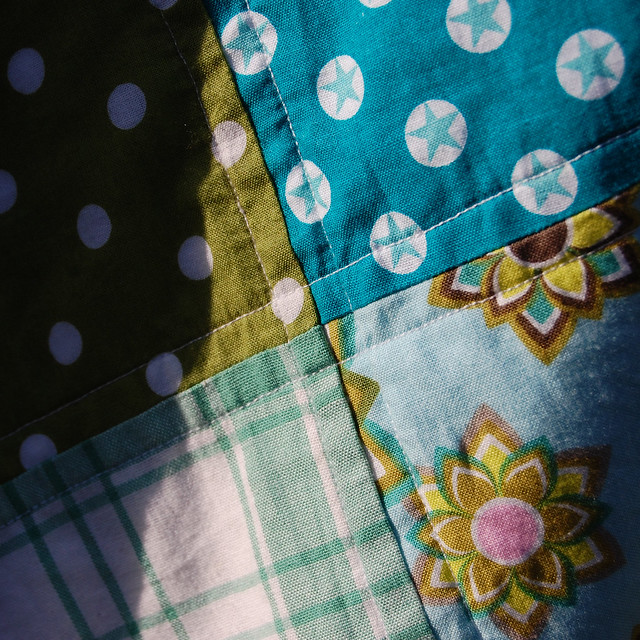
LB patchwork blanket - finished

I finished it!
(click here to see the whole lengthy process)
Actually, I finished it back in August, but Little Brother immediately carried it off to his bed so I didn't get around to photographing it until now. He absolutely loves it!
This has been the most rewarding thing I have ever made for my sons (despite that the one I made for Big Brother didn't turn out quite right) - they both enjoy their blankets so much.They got to choose the colours, help pick the fabrics and see me spend a lot (a whole lot) of time making it, I think it makes them feel extra special. And me too: making something for a loved one feels good :)

Well, enough mushy talk. Here are lots of pictures!

LB patchwork blanket - finished


Hij is klaar! 
(Kleine Broer z'n patchwork deken bedoel ik dan - wil je het hele lange proces zien, klik dan hier)
Nouja, hij was in augustus al klaar, maar Kleine Broer ging er meteen mee vandoor en legde hem op zijn bed, dus ik heb nu pas eindelijk foto's kunnen maken. Hij is er zo gek op!
Dit is echt het meest dankbare dat ik ooit voor mijn zoontjes heb gemaakt (ook al is die van Grote Broer niet helemaal geworden zoals de bedoeling was) - ze zijn allebei dol op hun dekens. Ze mochten de kleur kiezen, helpen met de lapjes kiezen en ze zagen hoe ik er lang (echt heel lang) aan werkte; ik denk dat het ze extra speciaal laat voelen. En mij trouwens ook: iets maken voor iemand waarvan je houdt voelt gewoon heel goed :)

Okee, genoeg sentimenteel gedoe. Hier zijn heel veel foto's!
 
LB patchwork blanket - finished

LB patchwork blanket - finished

LB patchwork blanket - finished

LB patchwork blanket - finished

LB patchwork blanket - finished

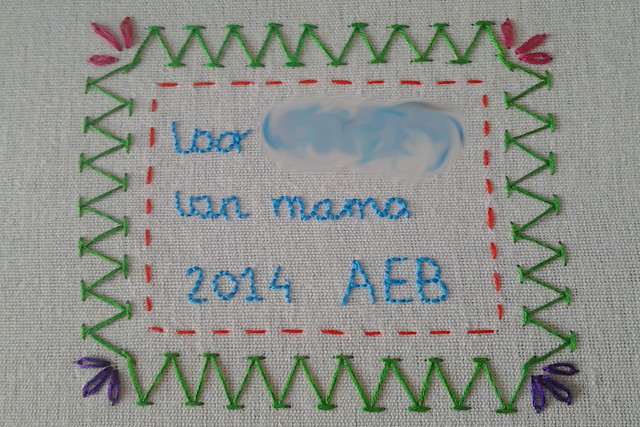
I embroidered a label and appliqued it to the back, just as I did for Big Brother.


Ik borduurde een label en appliceerde het op de achterkant, net als voor Grote Broer.

LB patchwork blanket - finished

Some tension issues with my sewing machine again *sigh*


Weer eens wat problemen met de draadspanning van mijn naaimachine *zucht*

LB patchwork blanket - finished

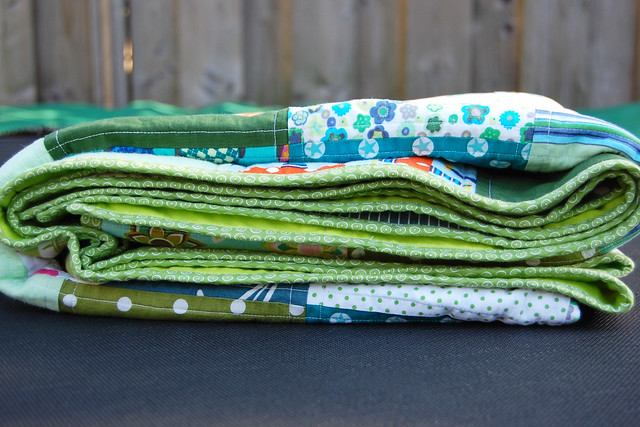
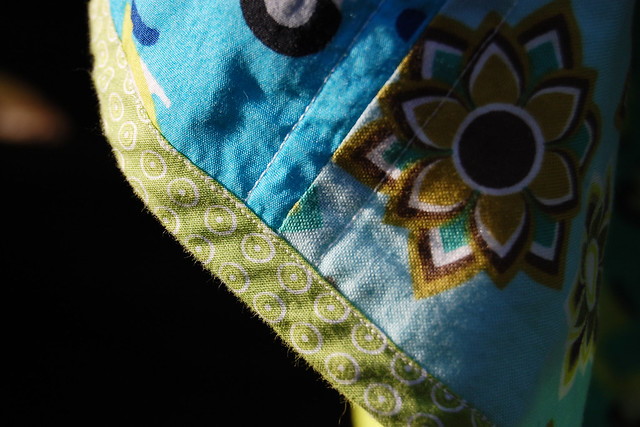
And this was my first time working with bias binding. I love this little print and the way it looks - it really finishes the blanket off. When I bought it I was worries it would be too narrow, but I think in the end it worked out just perfectly.


En dit is de eerste keer dat ik biasband gebruikte. Ik ben een beetje verliefd op dit groene bandje met dat kleine printje - maakt het echt helemaal af. Toen ik het kocht was ik bang dat het misschien te smal was voor een deken, maar uiteindelijk staat het perfect vind ik.

LB patchwork blanket - finished


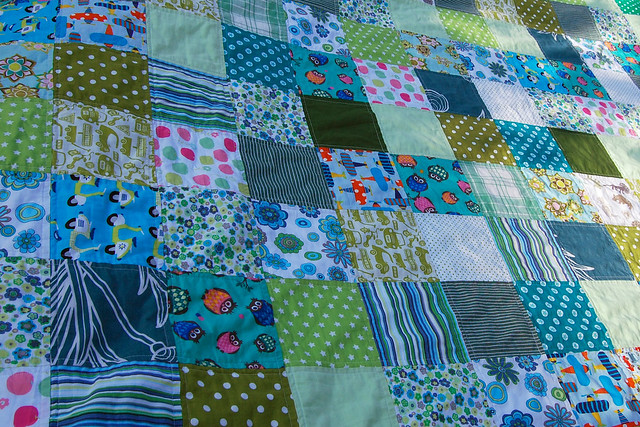
As for the technical details: I haven't measured the finished quilt but the squares measure 15x15 cm and I made 15 rows of 10 squares, so it should measure to a little over 140x220 cm (which is a standard blanket size).
I bought the binding, the wadding and some of the fabrics at our weekly market; the wadding is a thick cotton flannel. It makes the blanket nice and heavy but still relatively thin.
The backing was originally a duvet cover from Ikea which my mom got on sale and gave to me. I had it laying around for years until this seemed like the perfect project to use it on.
Fabrics are from my stash, my mom's and my sister's and even from my grandmother's. One is from and old fabric swap, and a few I got at a fabric market years ago. Several of the fabrics I also used for Big Brother's blanket.
A few of the fabrics I got online: the green cars are Cruiser Blvd Cars Green by Sheri McCulley Studio for Riley Blake, the multi coloured cars are Cruiser Blvd Mini Blue by Sheri McCulley Studio for Riley Blake, and the airplanes are Ready Set Go Sky Airplanes by Ann Kelle for Robert Kaufman (all bought at this Etsy shop) .There are others but I can't find the details on them.


Technische details: ik heb hem niet meer opgemeten, maar de vierkantjes zijn 15x15 cm en er zijn 15 rijen van 10 vierkantjes, dus de maat komt daarmee op iets meer dan 140x220 cm (een standaard dekbed maat).
De bias, de vulling en sommige stofjes kocht ik op de markt. De vulling is een dikke katoenen flanel: lekker zwaar maar niet super warm.
De achterkant was een dekbedovertrek van Ikea die mijn moeder afgeprijsd had gekocht en aan mij had gegeven. Het lag al een paar jaar in de kast en was perfect voor deze deken.
Stofjes komen uit mijn eigen voorraad, die van mijn moeder, mijn zus en zelfs nog van mijn oma. Eentje komt uit een oude lapjesswap, en een paar kocht ik een paar jaar geleden op een stoffenmarkt. Een aantal van de lapjes zit ook in de deken van Grote Broer.
Een paar stofjes kocht ik online: de groene autotjes zijn Cruiser Blvd Cars Green by Sheri McCulley Studio for Riley Blake, de multi gekleurde autotjes zijn Cruiser Blvd Mini Blue by Sheri McCulley Studio for Riley Blake, en de vliegtuigjes zijn Ready Set Go Sky Airplanes by Ann Kelle for Robert Kaufman (allemaal gekocht bij deze Etsy winkel). Er waren er nog meer maar ik kan de bon niet meer vinden.


linked at these parties:
Blossom Heart Quilts {Sew Cute Tuesday} Crafts A La Mode {What To Do Weekends} Creative Jewish Mom {Craft Schooling Sunday} Fort Worth Fabric Studio {Fabric Frenzy Friday} Frontier Dreams {Keep Calm Craft On} Handmade Harbour {Handmade Monday} Hope Studios {Tutorial Tuesday} I Have To Say... {Show And Tell Tuesday} My Quilt Infatuation {Needle And Thread Thursday} Oombawka Design {Link And Share Wednesday} Oombawka Design {Tuesday PIN-spiration Link Party} Organized 31 {This Is How We Roll} Pretty Bobbins {I Quilt} Quilt Story {Fabric Tuesday} Stitch By Stitch {Anything Goes Monday} Thank Goodness It's Finished Friday {TGIFF} The Answer Is Chocolate {BFF Open House Link Party} The Happy Scraps {The Creative Exchange Link Party} The Inspired Wren {Inspire Us Thursday}

October 29, 2014

* DIY: crochet a Granny Square phone cosy

->I'm moving my blog; the new location of this post is Studio Paars - DIY: crochet a Granny Square phone cosy
->Mijn blog verhuist; de nieuwe locatie van deze post is Studio Paars - DIY: haak een Granny Square telefoonhoesje

+=+=+=+=+=+=+=+=+=+=+=+=+=+

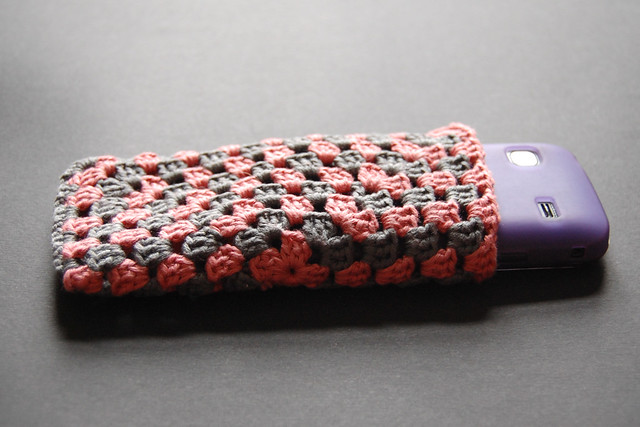
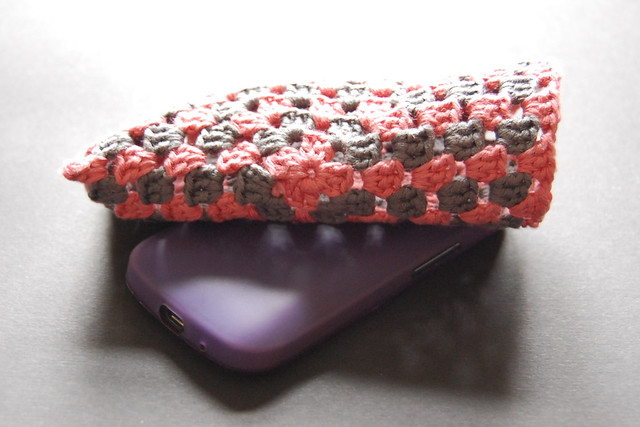
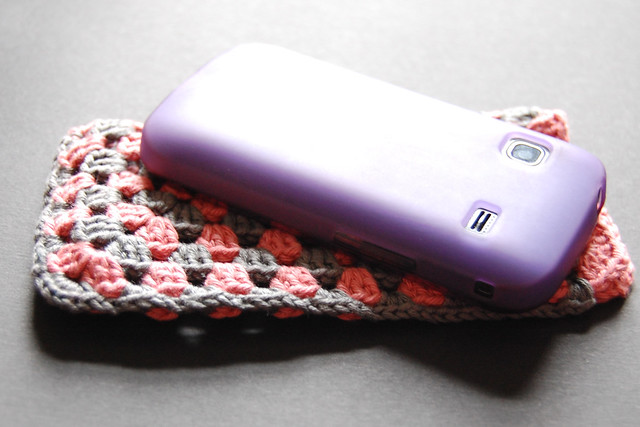
Granny Square crochet phone cosy - with tutorial

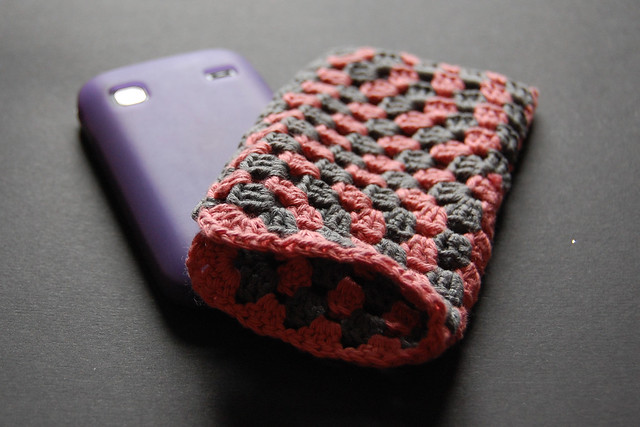
One of the workshops I am offering for my new business is "Crochet a Granny Square". So in order to refresh my skills and have an example at hand I made this phone cozy. It is super easy to make: all it takes is one single Granny Square! Here is a tutorial:

So you just crocheted your first Granny Square, but now what to do with it? A potholder is always an option ofcourse, but another one is to easily turn it into a phone cozy.

Step 1: crochet a basic Granny Square in the colours of your choice. Stop adding rounds when the square is just barely too small to wrap around your phone (for me this was after 9 rounds).

Step 2: fold the square in half and close it with crochet, starting at one of the folded corners. Single Crochet (sc) 3 into the gap between the clusters of stitches, taking care to make the stitches go through both layers. Chain Stitch (cs) 2 and repeat. When you reach the corner, sc 6 (with no extra cs in between), then repeat as before, alternating sc 3 and cs 2, until you reach the final gap at the side.
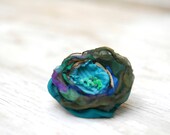
Step 3: weave in your ends and try the fit for your phone. If it's a bit too tight you can simply pull the cosy into the desired shape; if necessary, wet it before shaping and allow it to dry completely before trying it on again.

Granny Square crochet phone cosy - with tutorial

Eén van de workshops die ik aanbied voor mijn eigen bedrijf is een workshop "Granny Square haken". Dus om mijn eigen vaardigheden weer eens op te halen, en ook om een voorbeeldje bij de hand te hebben, haakte ik dit telefoonhoesje. Hij was super makkelijk te maken: er is maar één enkele Granny Square voor nodig! Hier is de tutorial:

Dus je hebt je eerste Granny Square gehaakt, maar wat doe je er nu mee? Een pannelap is één optie natuurlijk, maar je kan er ook heel gemakkelijk een telefoonhoesje van maken.

Stap 1: haak een Granny Square in de kleurtjes die je wilt. Stop met haken als het vierkant nog nét te klein is om om je telefoon heen te wikkelen (bij mij was dat na 9 toeren).

Stap 2: vouw het vierkant dubbel en haak hem dicht vanaf één van de dubbelgevouwen hoeken. Haak steeds 3 vasten in de opening tussen de segmentjes (let op dat je door beide lagen heen haakt) en dan 2 lossen. Wanneer je bij de hoek komt haak je 6 vasten (geen extra lossen voor de hoek). Daarna weer verder met steeds 3 vasten en 2 lossen, totdat je boven aan de zijkant in de laatste opening 3 vasten hebt gehaakt.
Stap 3: hecht je draden af en pas hem om je telefoon. Als het nog iets te strak zit kan je het hoesje wat in vorm trekken; eventueel eerst nat maken en na het in vorm trekken goed laten drogen.


Granny Square crochet phone cosy - with tutorial

Granny Square crochet phone cosy - with tutorial

October 26, 2014

~ Back (again)

OMG I can't believe it's been so long! I have been such a bad blogger....
I want to say sorry (again) to the winners of my previous giveaway; your parcels are underway and I hope they arrive swiftly.
The second giveaway (see below) is still open by the way.
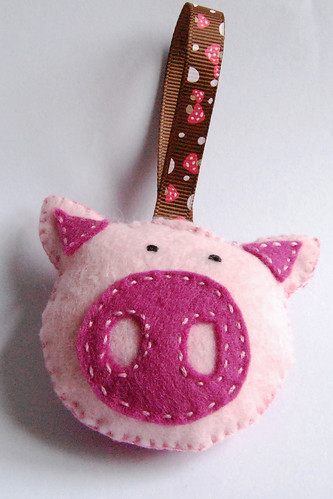
I have so much to show you all but have to wait until I can take pictures. But because a blog post without images is no blog post at all, here is a quick pic of a new felt pattern I am working on. I'm not happy with the eyes yet... so it's still a prototype of sorts.
Will be back soon!

OMG niet te geloven hoe lang ik weg ben geweest...
Ik elk geval (nogmaals) sorry naar de giveaway winnaars; jullie pakjes zijn onderweg en ik hoop dat ze snel aankomen.
Mijn laatste giveaway loopt nog trouwens (hint ;)
Ik heb heel veel om te laten zien maar dat moet wachten totdat ik goeie foto's kan maken. Maar omdat een blogpost zonder plaatjes geen blogpost is, hierbij een kiekje van een nieuw patroontje waaraan ik werk. Ik ben nog niet helemaal tevreden met de ogen... dus is het voorlopig slechts een soort prototype.
Tot gauw!


Piglet

August 26, 2014

* Lots of additions to The Stash


I'm moving my blog; the new location of this post is: Studio Paars - Lots of additions to The Stash

Mijn blog verhuist; de nieuwe locatie van deze post is: Studio Paars - Nieuwe handwerkspullen gekocht

======================================================

It seems I have been on a bit of a shopping spree lately! I'm done now, I promise. But it has been great having several packages arrive in the mail these past days, and all for me :-D
De laatste tijd heb ik een beetje veel besteld! Nu ben ik klaar, echt waar. Maar het was wel even leuk om steeds pakjes in de post te vinden, en nog wel helemaal voor mezelf :-D

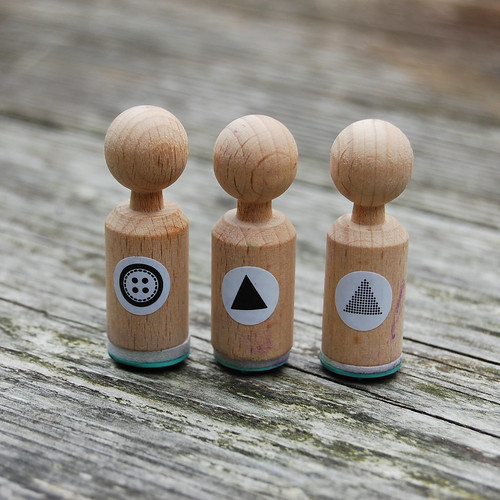
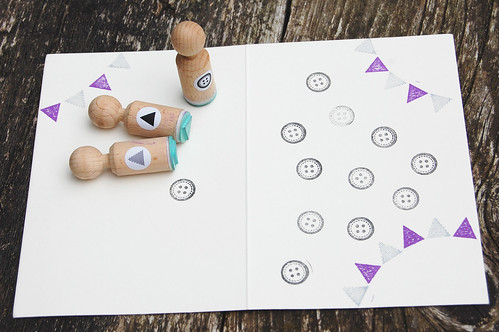
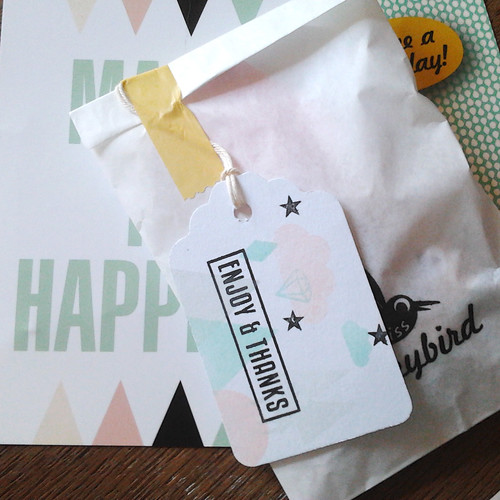
First, I ordered some stamps from MissHoneyBird on Etsy. I love her stamps and designs, and when I ordered from her before I was pleasantly surprised by the added extras and the lovely packaging. And this time was no different, see:
Eerst bestelde ik een paar stempeltjes bij MissHoneyBird op Etsy. Ik had al eerder iets bij haar besteld, en het was superleuk ingepakt met allerlei extra'tjes. En deze keer was het niet anders, kijk maar: 

stamps_2

stamps_3

stamps_1

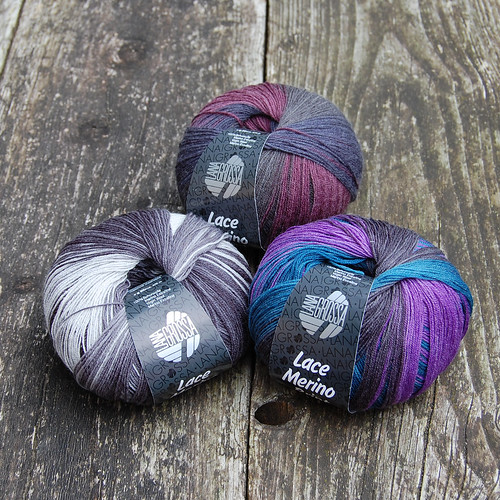
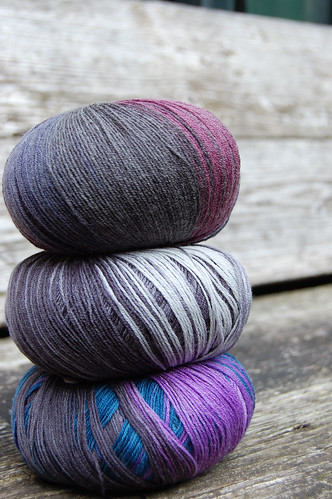
Then I ordered some yarn for a scarf I want to make (more on that later). I looked around for quite a while and ended up with Lace Merino Print from Lana Grossa, ordered from here. The yarn is lovely, soft and silky, but the colours were a little different from what I was expecting. I think I can make it work out though.

Toen bestelde ik wolletjes voor een sjaal (meer daarover een andere keer). Ik heb een hele tijd gezocht en uiteindelijk kwam ik uit bij Lace Merino Print van Lana Grossa, en ik bestelde het hier. De wol is prachtig, zacht en soepel, maar de kleuren waren wel een beetje anders dan ik had verwacht. Maar ik denk dat ik er wel wat mee kan.

yarn_1

yarn_2

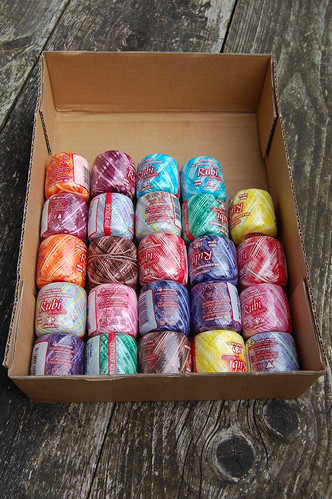
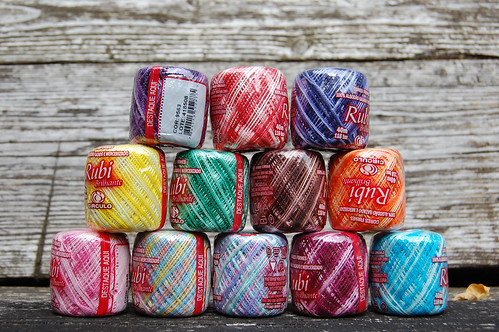
And then I wanted to try something new. I never embroidered with anything other than stranded DMC floss, so I was looking for something like Perle Cotton to try. Also, I wanted to give variegated thread a try.
So when I came across this store on Etsy I had to give these a try. At €18 for 24 balls I couldn't resist! They did take a while to get to Holland from Paraguay(!) but that was to be expected.
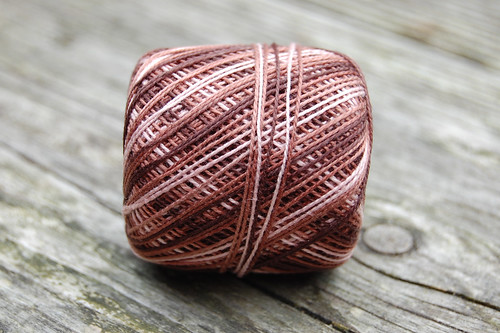
I haven't tried them yet but they sure look lovely! (there are 2 balls each of 12 different colourways)

En toen wilde ik eens wat nieuws proberen. Ik heb tot nu toe alleen met DMC splitgaren geborduurd, dus ik was op zoek naar iets van Perle Coton ofzo om uit te proberen, en ook wilde ik eens iets doen met veelkleurig garen.
Dus toen ik deze Etsy shop vond moest ik deze wel proberen! Ik betaalde uiteindelijk (inclusief verzenden) €18 voor 24 ballen. Het duurde wel even voor ze hier waren uit Paraguay(!) maar dat verwachtte ik ook wel. 
Ik heb ze nog niet gebruikt maar ze zien er mooi uit. Er zijn 2 balletjes elk in 12 verschilldende kleurstellingen. 


thread_1

thread_2

thread_3

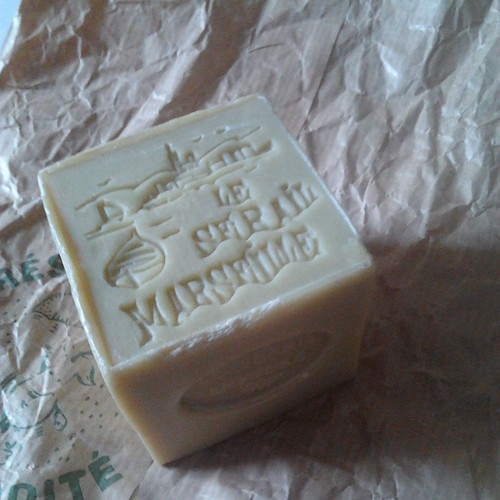
And lastly I received a gift from my lovely sister, who recently returned from a vacation in the french Provence (lucky her!). It is a block of french olive soap, to use for felting. It smells soooo good, I can't wait to give it a try!

En als laatste kreeg ik een cadeautje van mijn lieve zus die op vakantie was geweest in de Provence (geluksvogel!). Het is een blok franse olijf zeep, om te gebruiken voor het natvilten. 
Het ruikt echt super lekker, ik kan niet wachten om ermee aan de slag te gaan!

soap

August 22, 2014

* Some forgotten TAST stitches

->I'm moving my blog; you can find all my TAST posts here: Studio Paars - Embroidery stitches: TAST
->Mijn blog verhuist; je vindt al mijn TAST posts hier: Studio Paars - Borduursteken: TAST

+=+=+=+=+=+=+=+=+=+=+=+=+=+

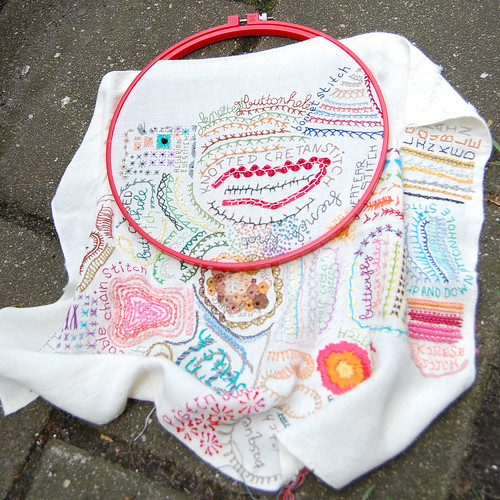
It seems I forgot to post some of my TAST stitches, even though I did already make and edit the photos. So an easy post for me today, although maybe a little vague on the details.

Ik bleek een paar TAST steken te zijn vergeten te posten, ondanks dat ik al de foto's had gemaakt en bewerkt. Makkelijk postje voor mij dus vandaag, maar misschien wel een beetje vaag hier en daar.

TAST #36 Knotted Buttonhole Stitch


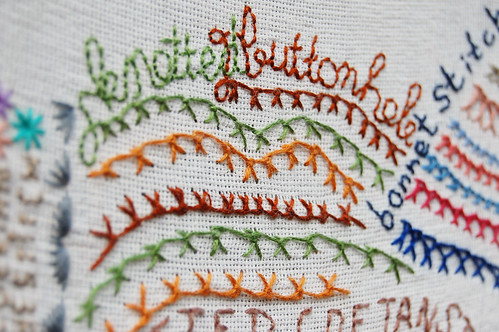
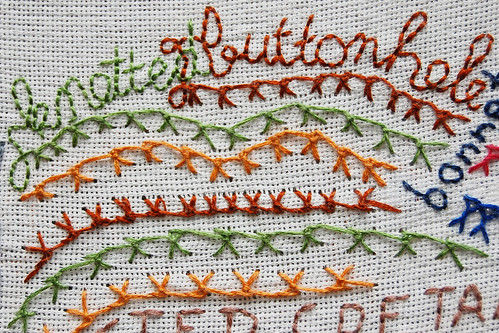
TAST Stitch 39: Knotted Buttonhole Stitch
Another buttonhole stitch *sigh*. Didn't enjoy it much (but I did have fun with the lettering!).

TAST Steek 39: Knotted Buttonhole Stitch
Wéér een buttonhole stitch variant *zucht*. Ik vond er niet veel aan, maar vermaakte me wel met de letters :)

TAST #36 Knotted Buttonhole Stitch

TAST #36 Knotted Buttonhole Stitch


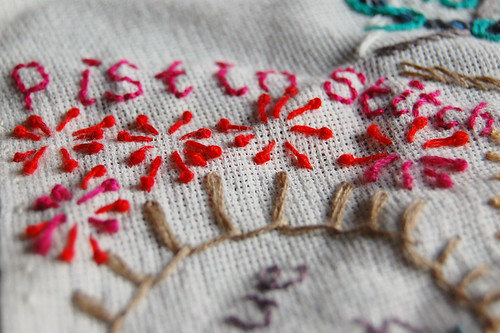
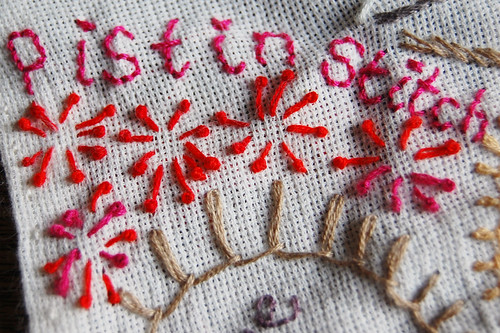
TAST Stitch 37: Pistil Stitch
I like the 'fireworks' effect a lot, but had a hard time coming up with any other uses.

TAST Steek 37: Pistil Stitch
Ik vond het 'vuurwerk' effect erg leuk, maar verder wist ik er niet veel mee te verzinnen.

TAST #34 Pistil Stitch

TAST #34 Pistil Stitch